
Steelhead
Learn A Western Washington: Simple Steelhead Cure

By: Mike Ainesworth
This time of year, being that hatchery steelhead has been very good, I’ve been getting a lot of hatchery steelhead eggs, which are in my opinion perfect size for steelhead fishing. Usually, when steelhead fishing specifically, if I can use steelhead eggs, I do. Steelhead eggs, in my opinion, are the best because of their size. I like them better than king eggs because they hold up better. The steelhead eggs have a tighter skein, are more durable when casting and hold up together better.
At the start of the steelhead season in Western Washington we had a lot of high water. My favorite cure color during the higher and dirtier water is red. However, as the water is getting clear I’ll switch to the natural, but add some orange or pink. The clearer the water the lighter or more natural I’ll go with my eggs.
Because we see a lot of fluctuation in our rivers it’s important to have different shades of eggs. One day red might be necessary whereas natural or a tint of orange or pink might be ideal a few days later. Meanwhile, I keep it simple with BorX O Fire exclusively when targeting winter steelhead. Only when targeting salmon will I use Fire Cure. Curing winter steelhead eggs is a simple process.
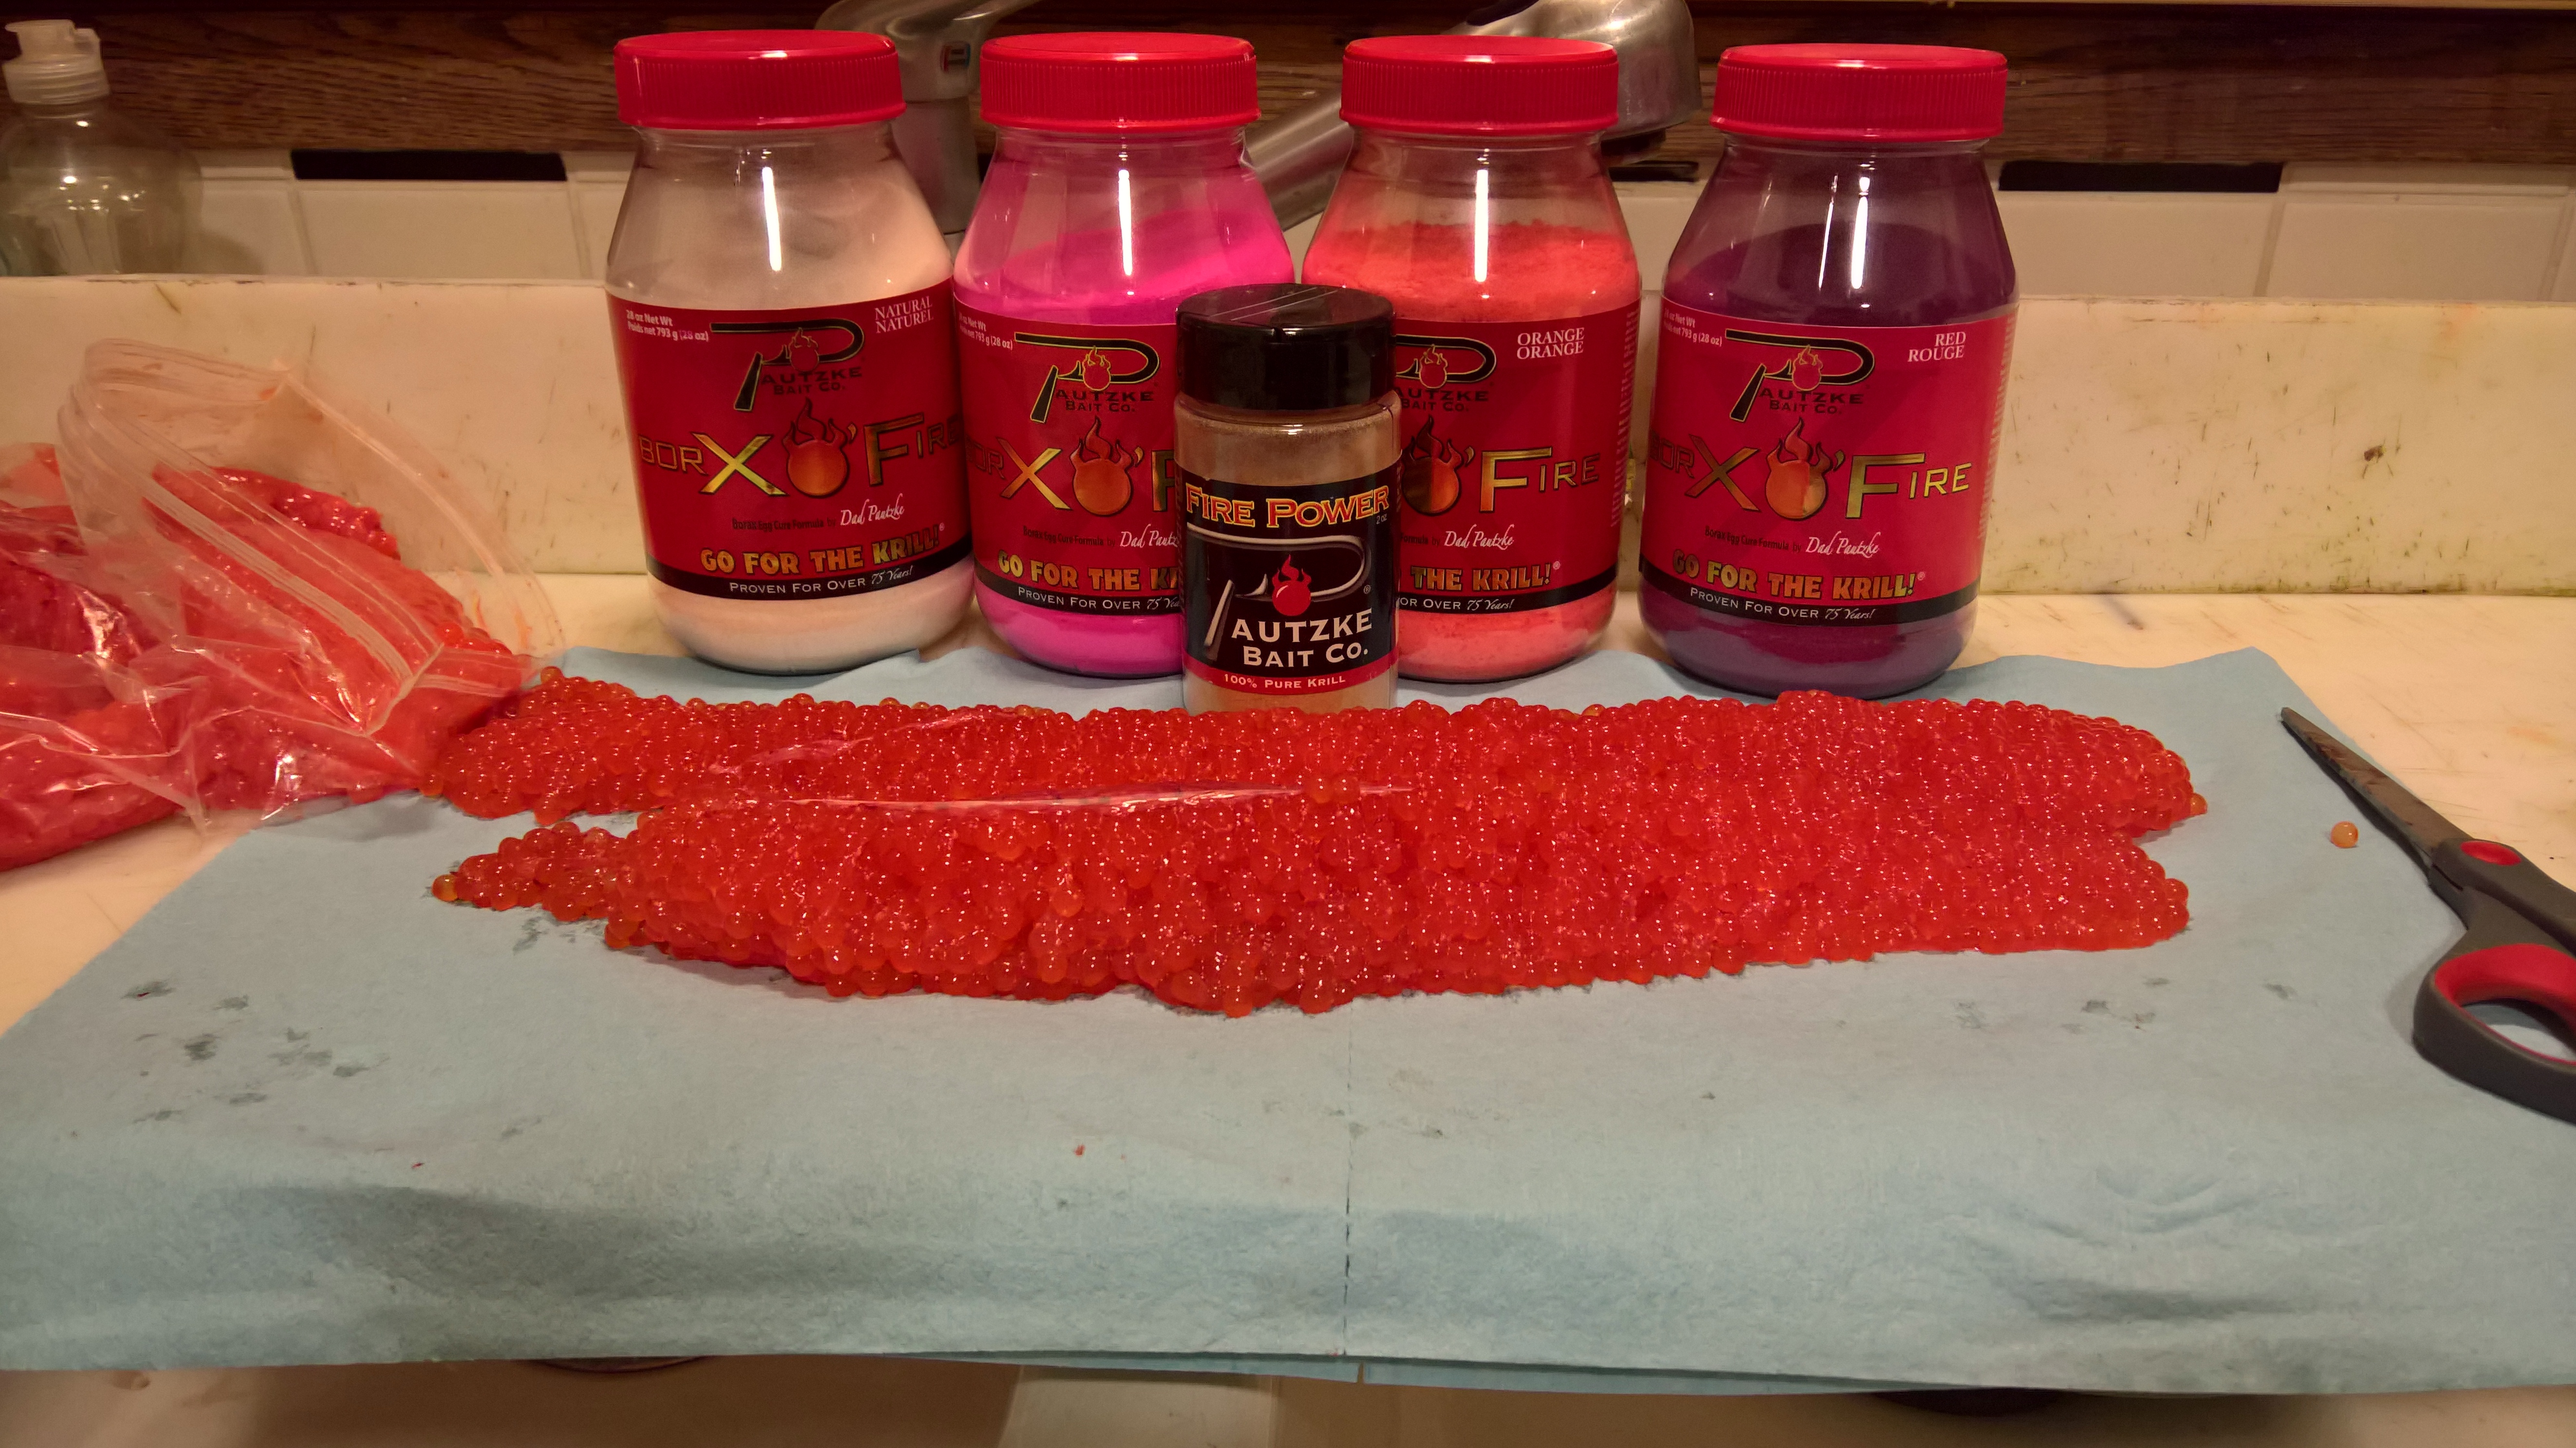
The Western Washington Steelhead Egg Cure
Step 1: No Blood
Once I have skeins and are ready to cure them I start by cutting the main vein on the skein and then use the back of the scissors to push the blood out. Steelhead are picky when it comes to blood being in the eggs. I get as much of the blood out as a can.
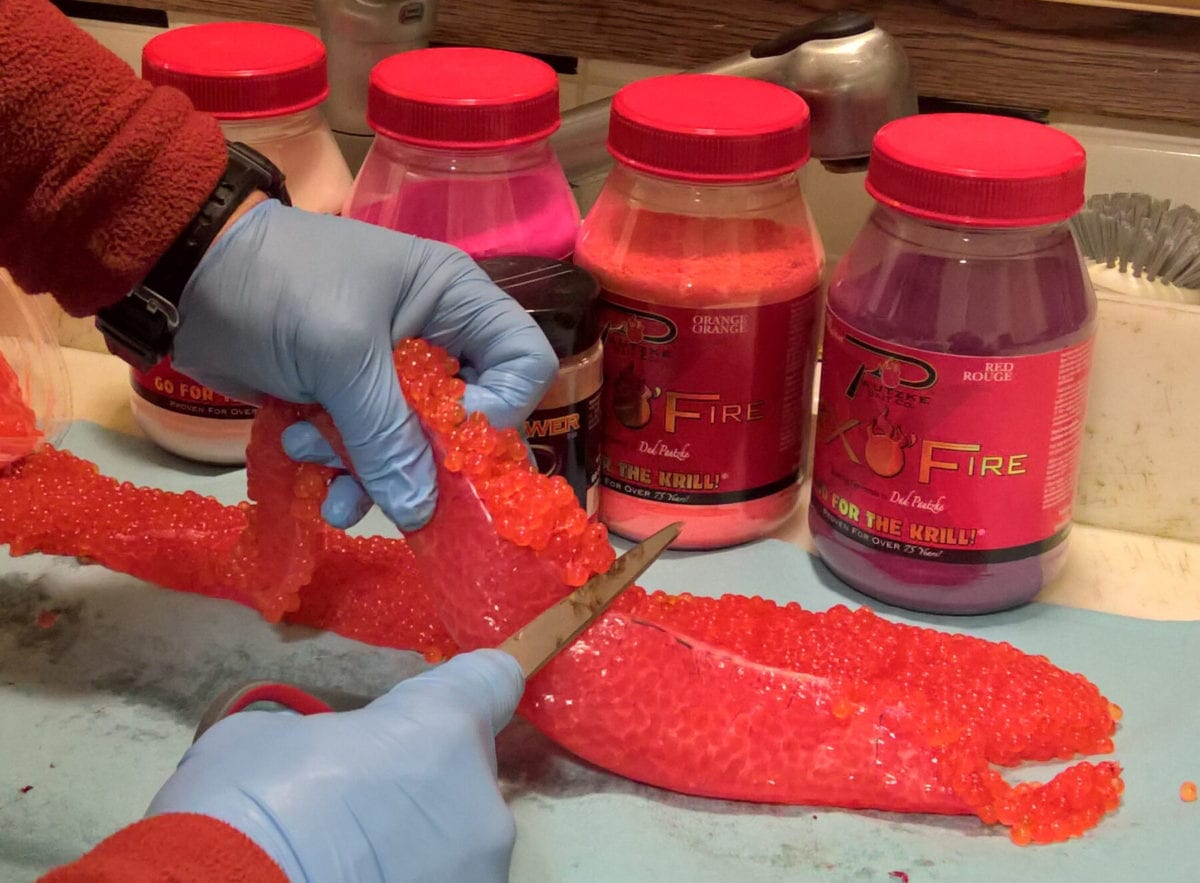
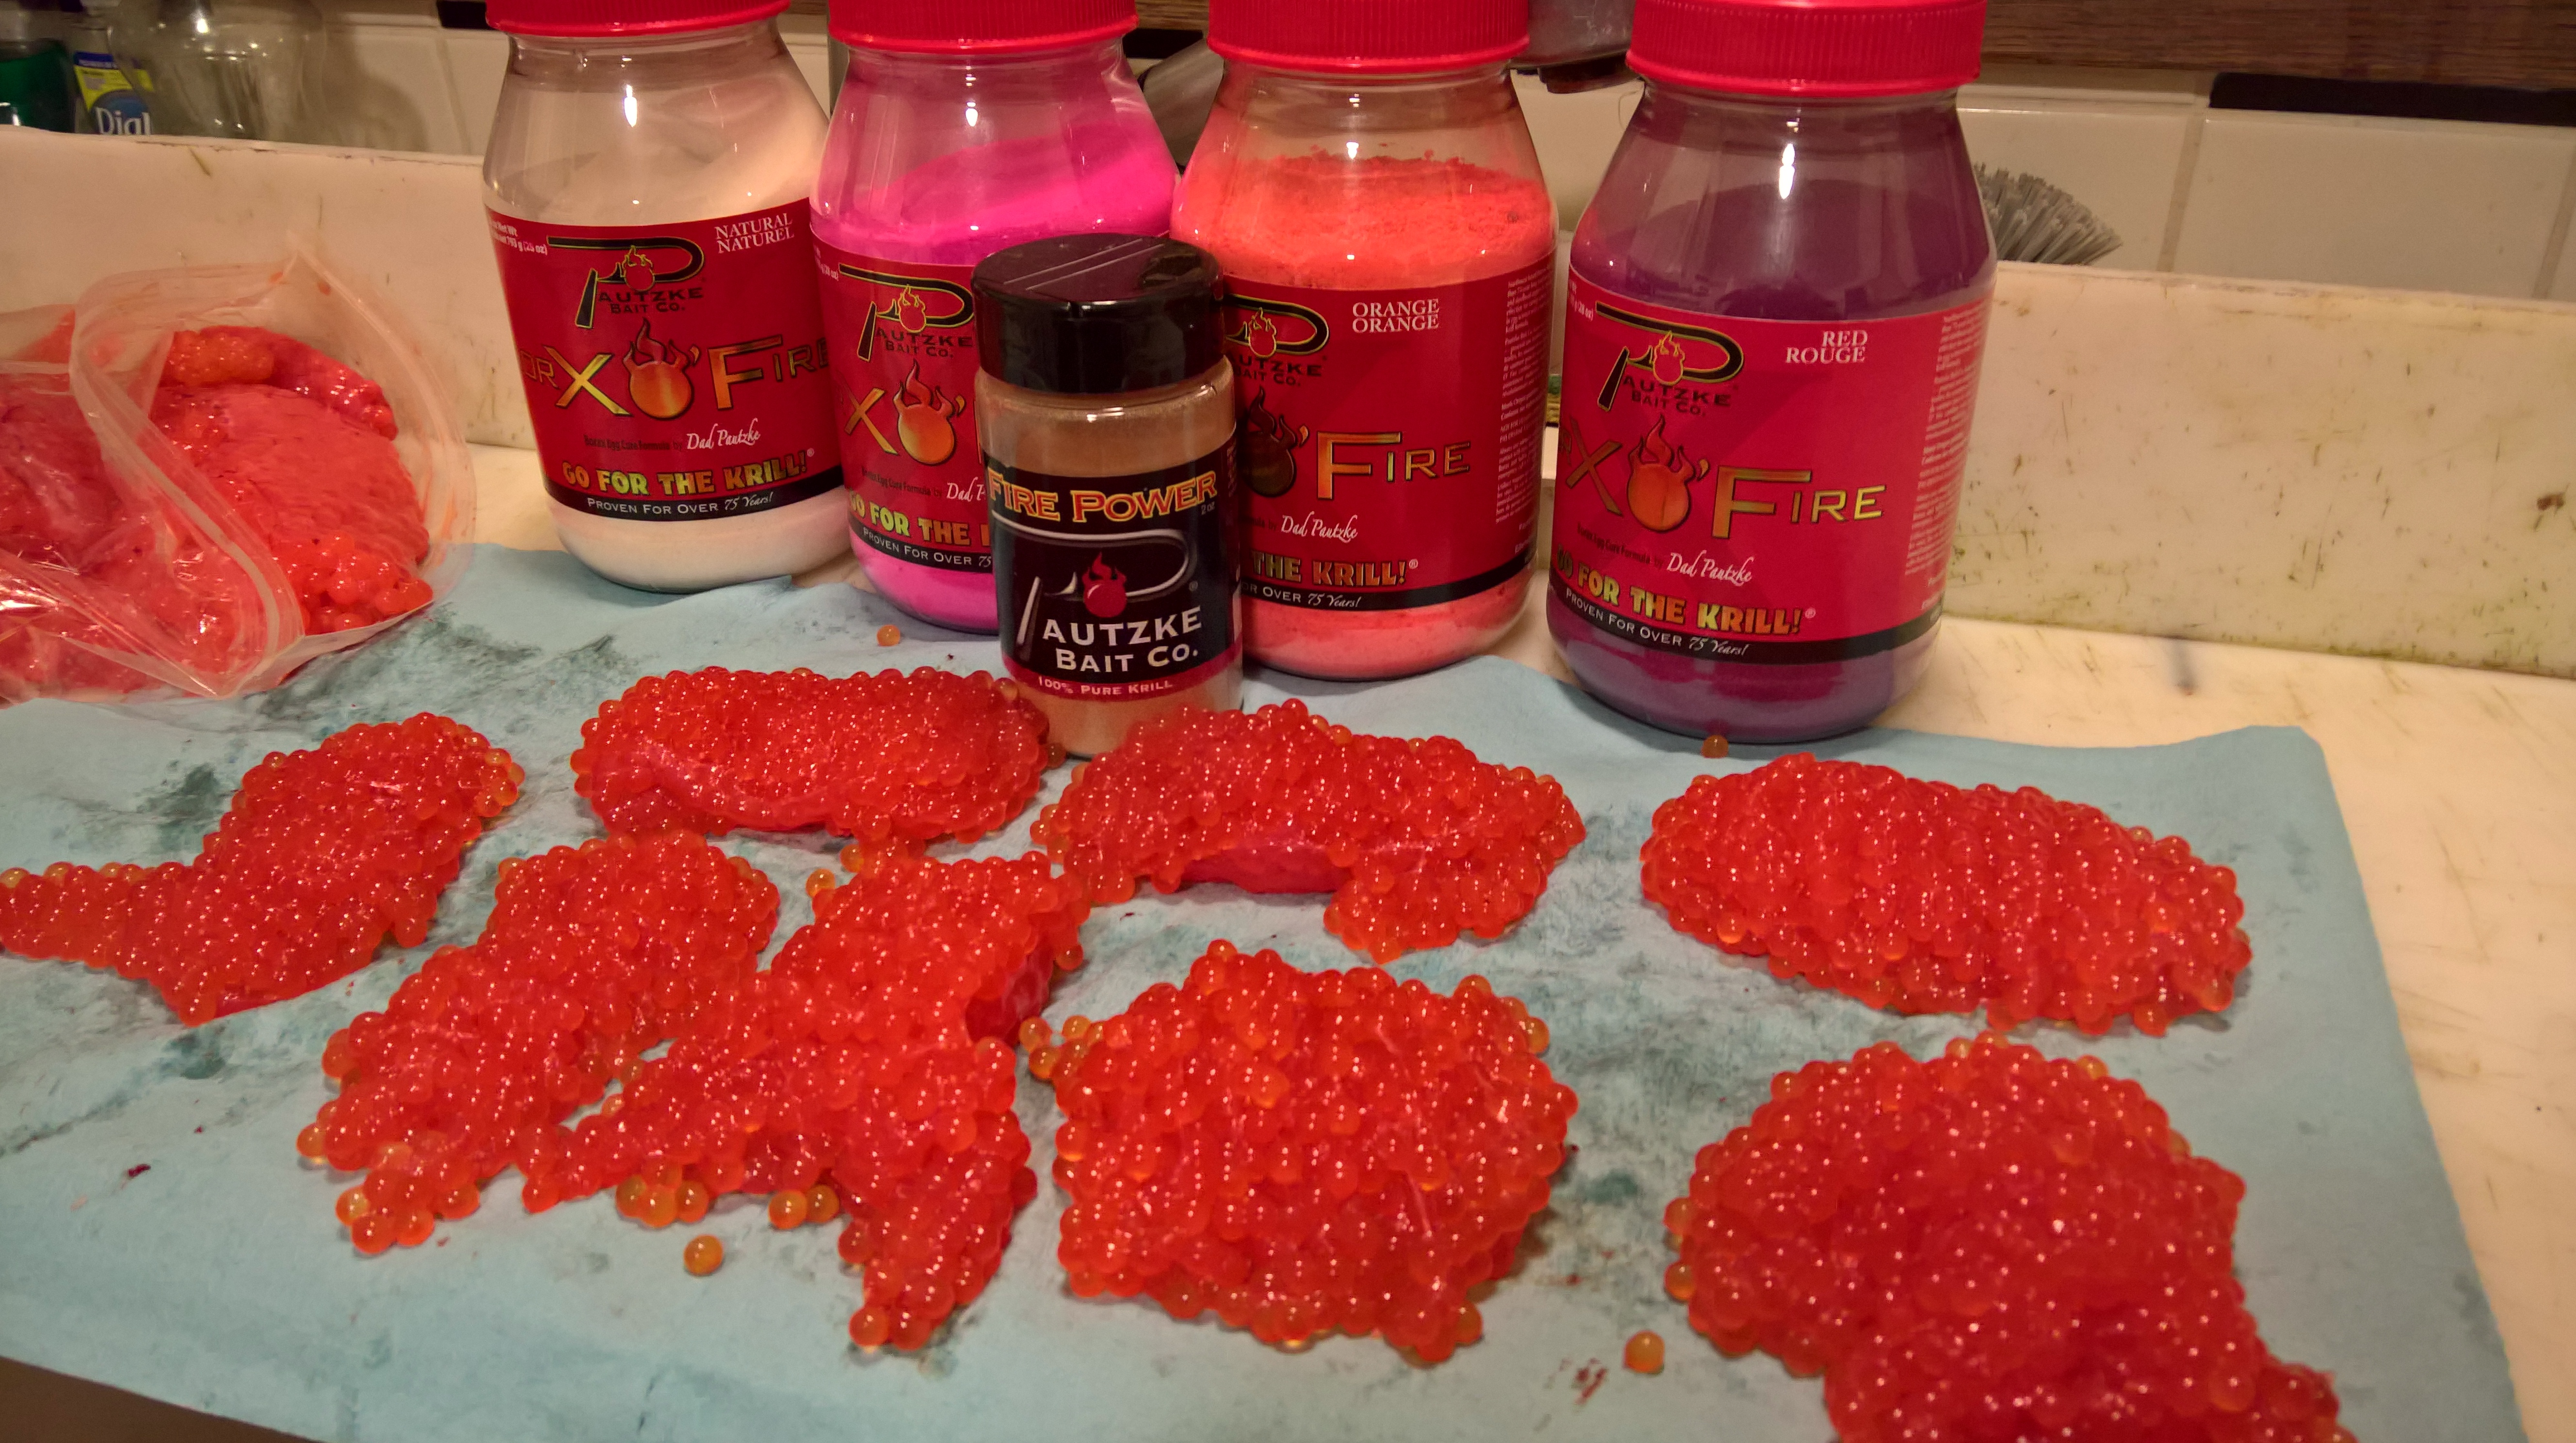
Step 2: Trim the Skein
Cut the skeins into smaller skeins rather than one giant skein. The smaller pieces make it easier to massage BorX O Fire between all the lines of the skeins. It’s important to get a proper coating all the way around. You want to make sure the cure invades the entire skeins and penetrates all the edges rather the just the outer edge.
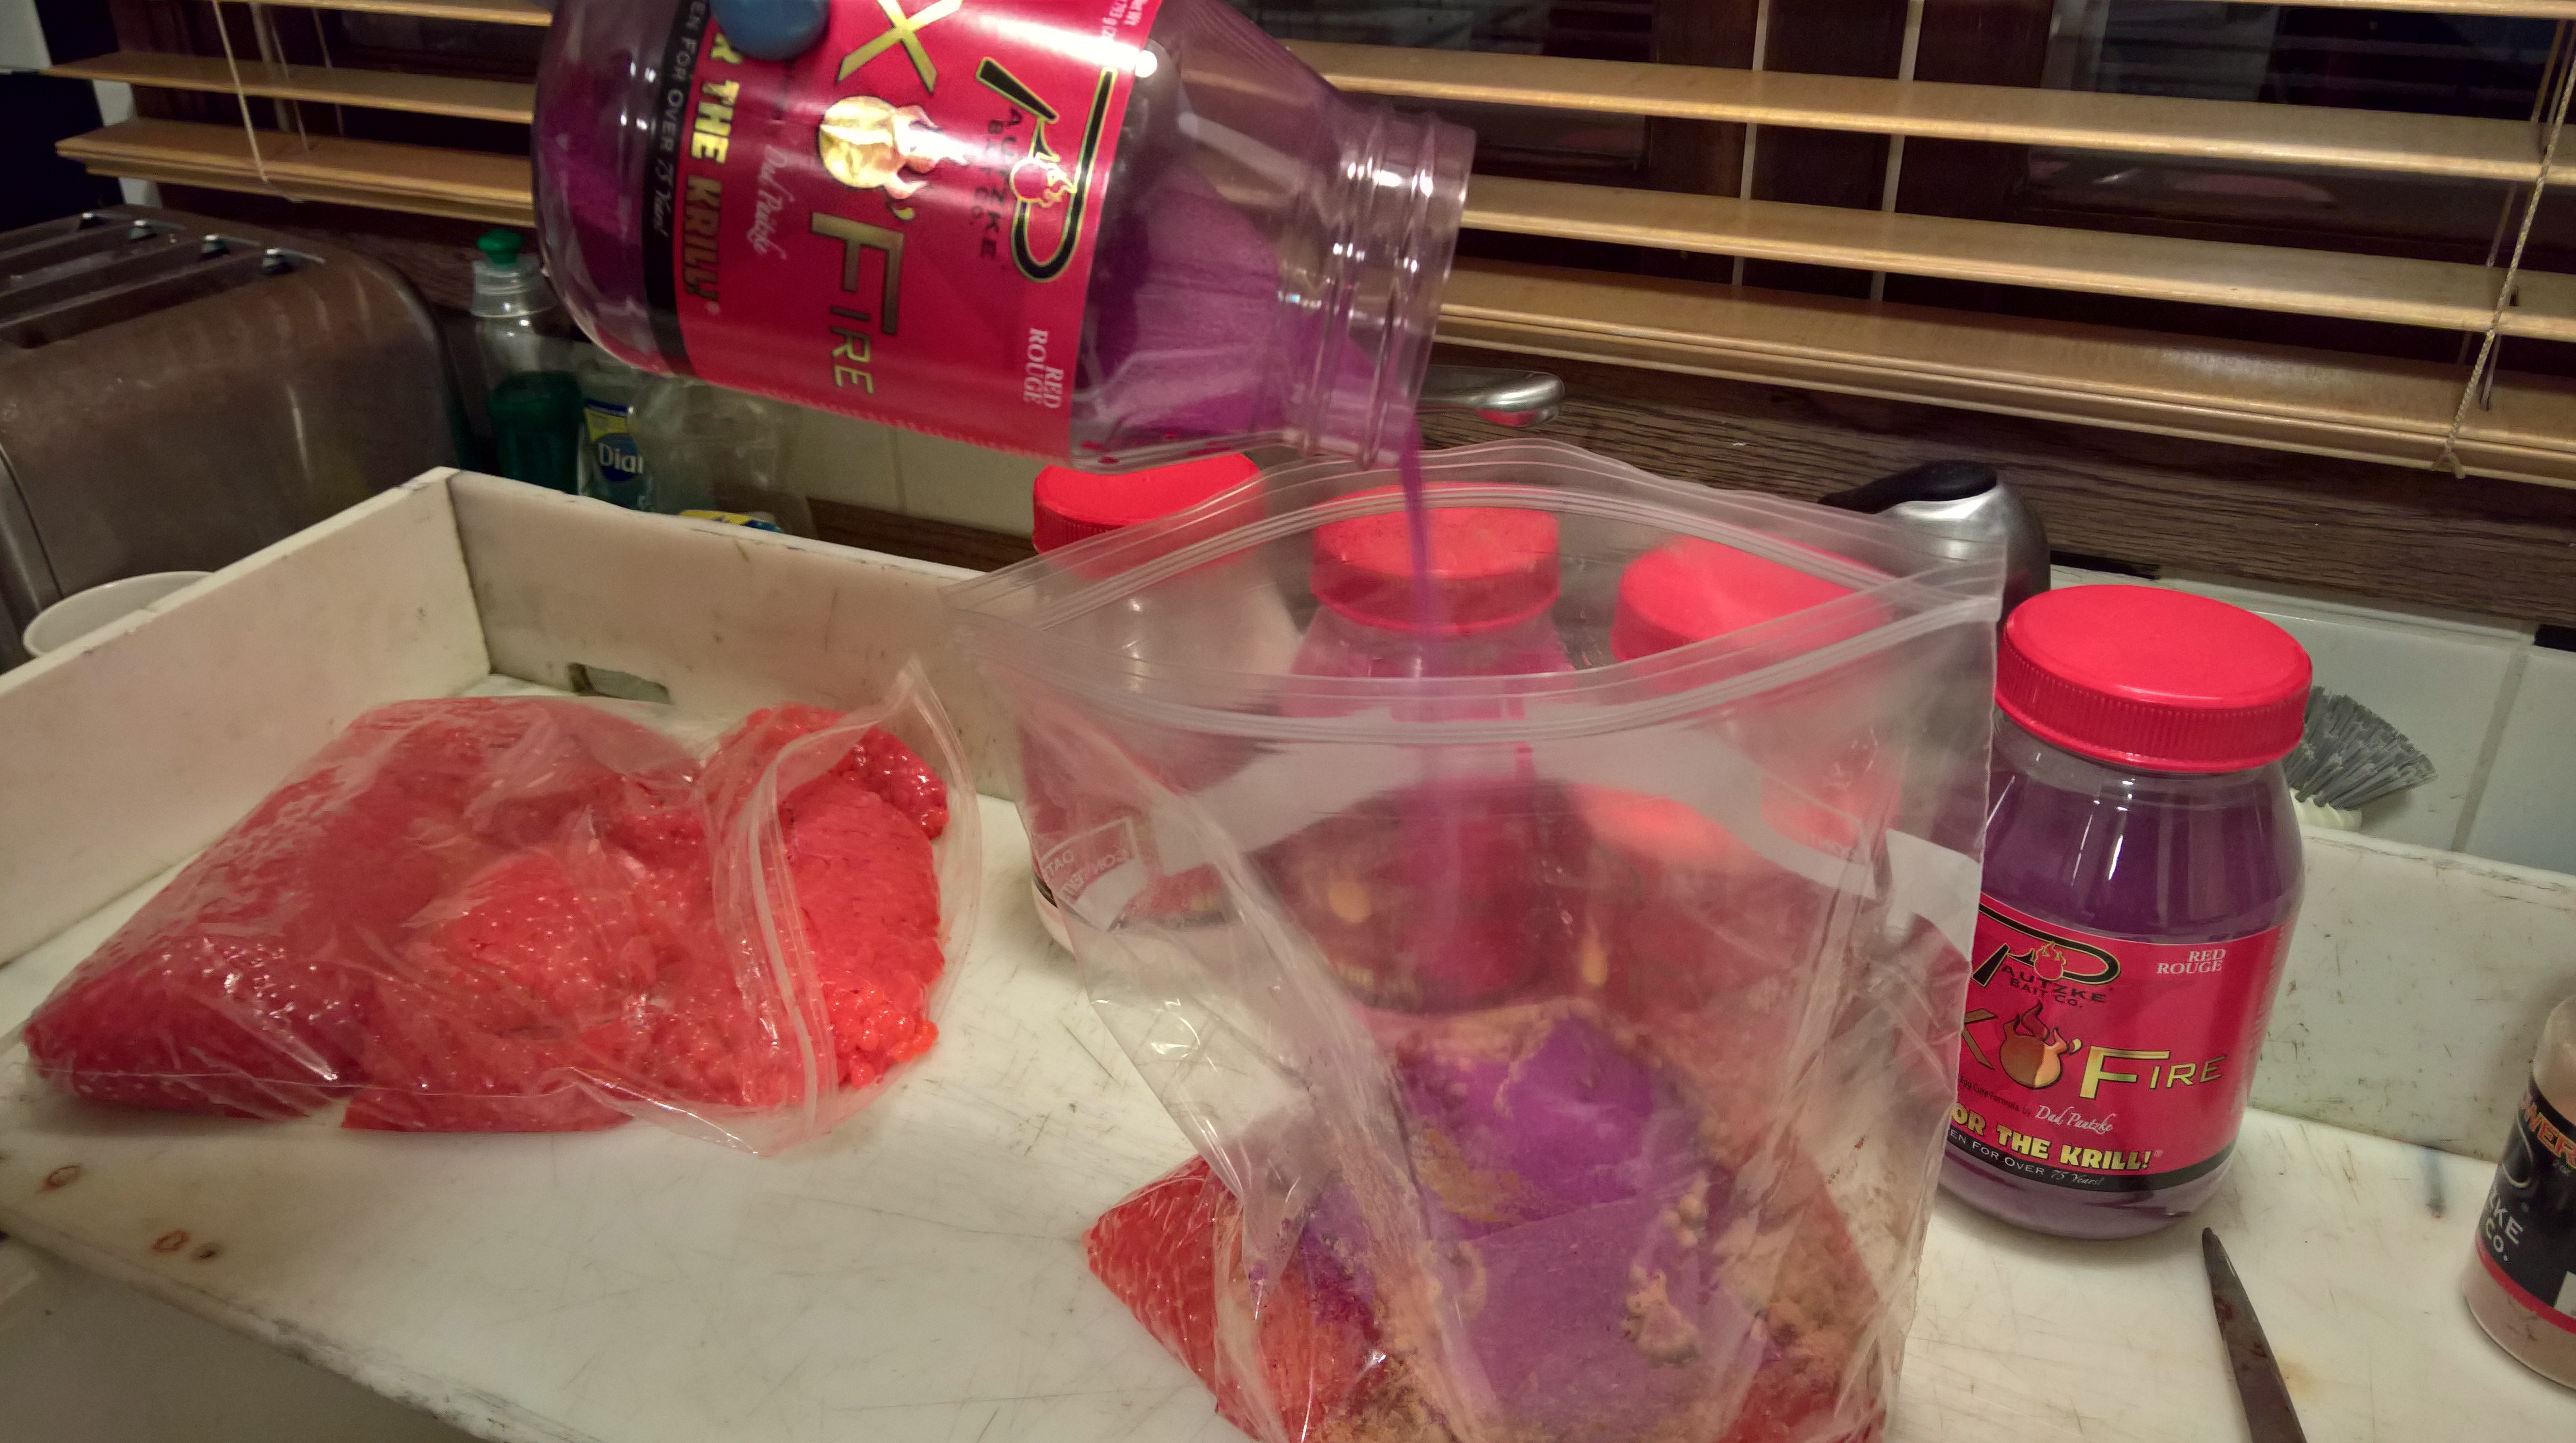
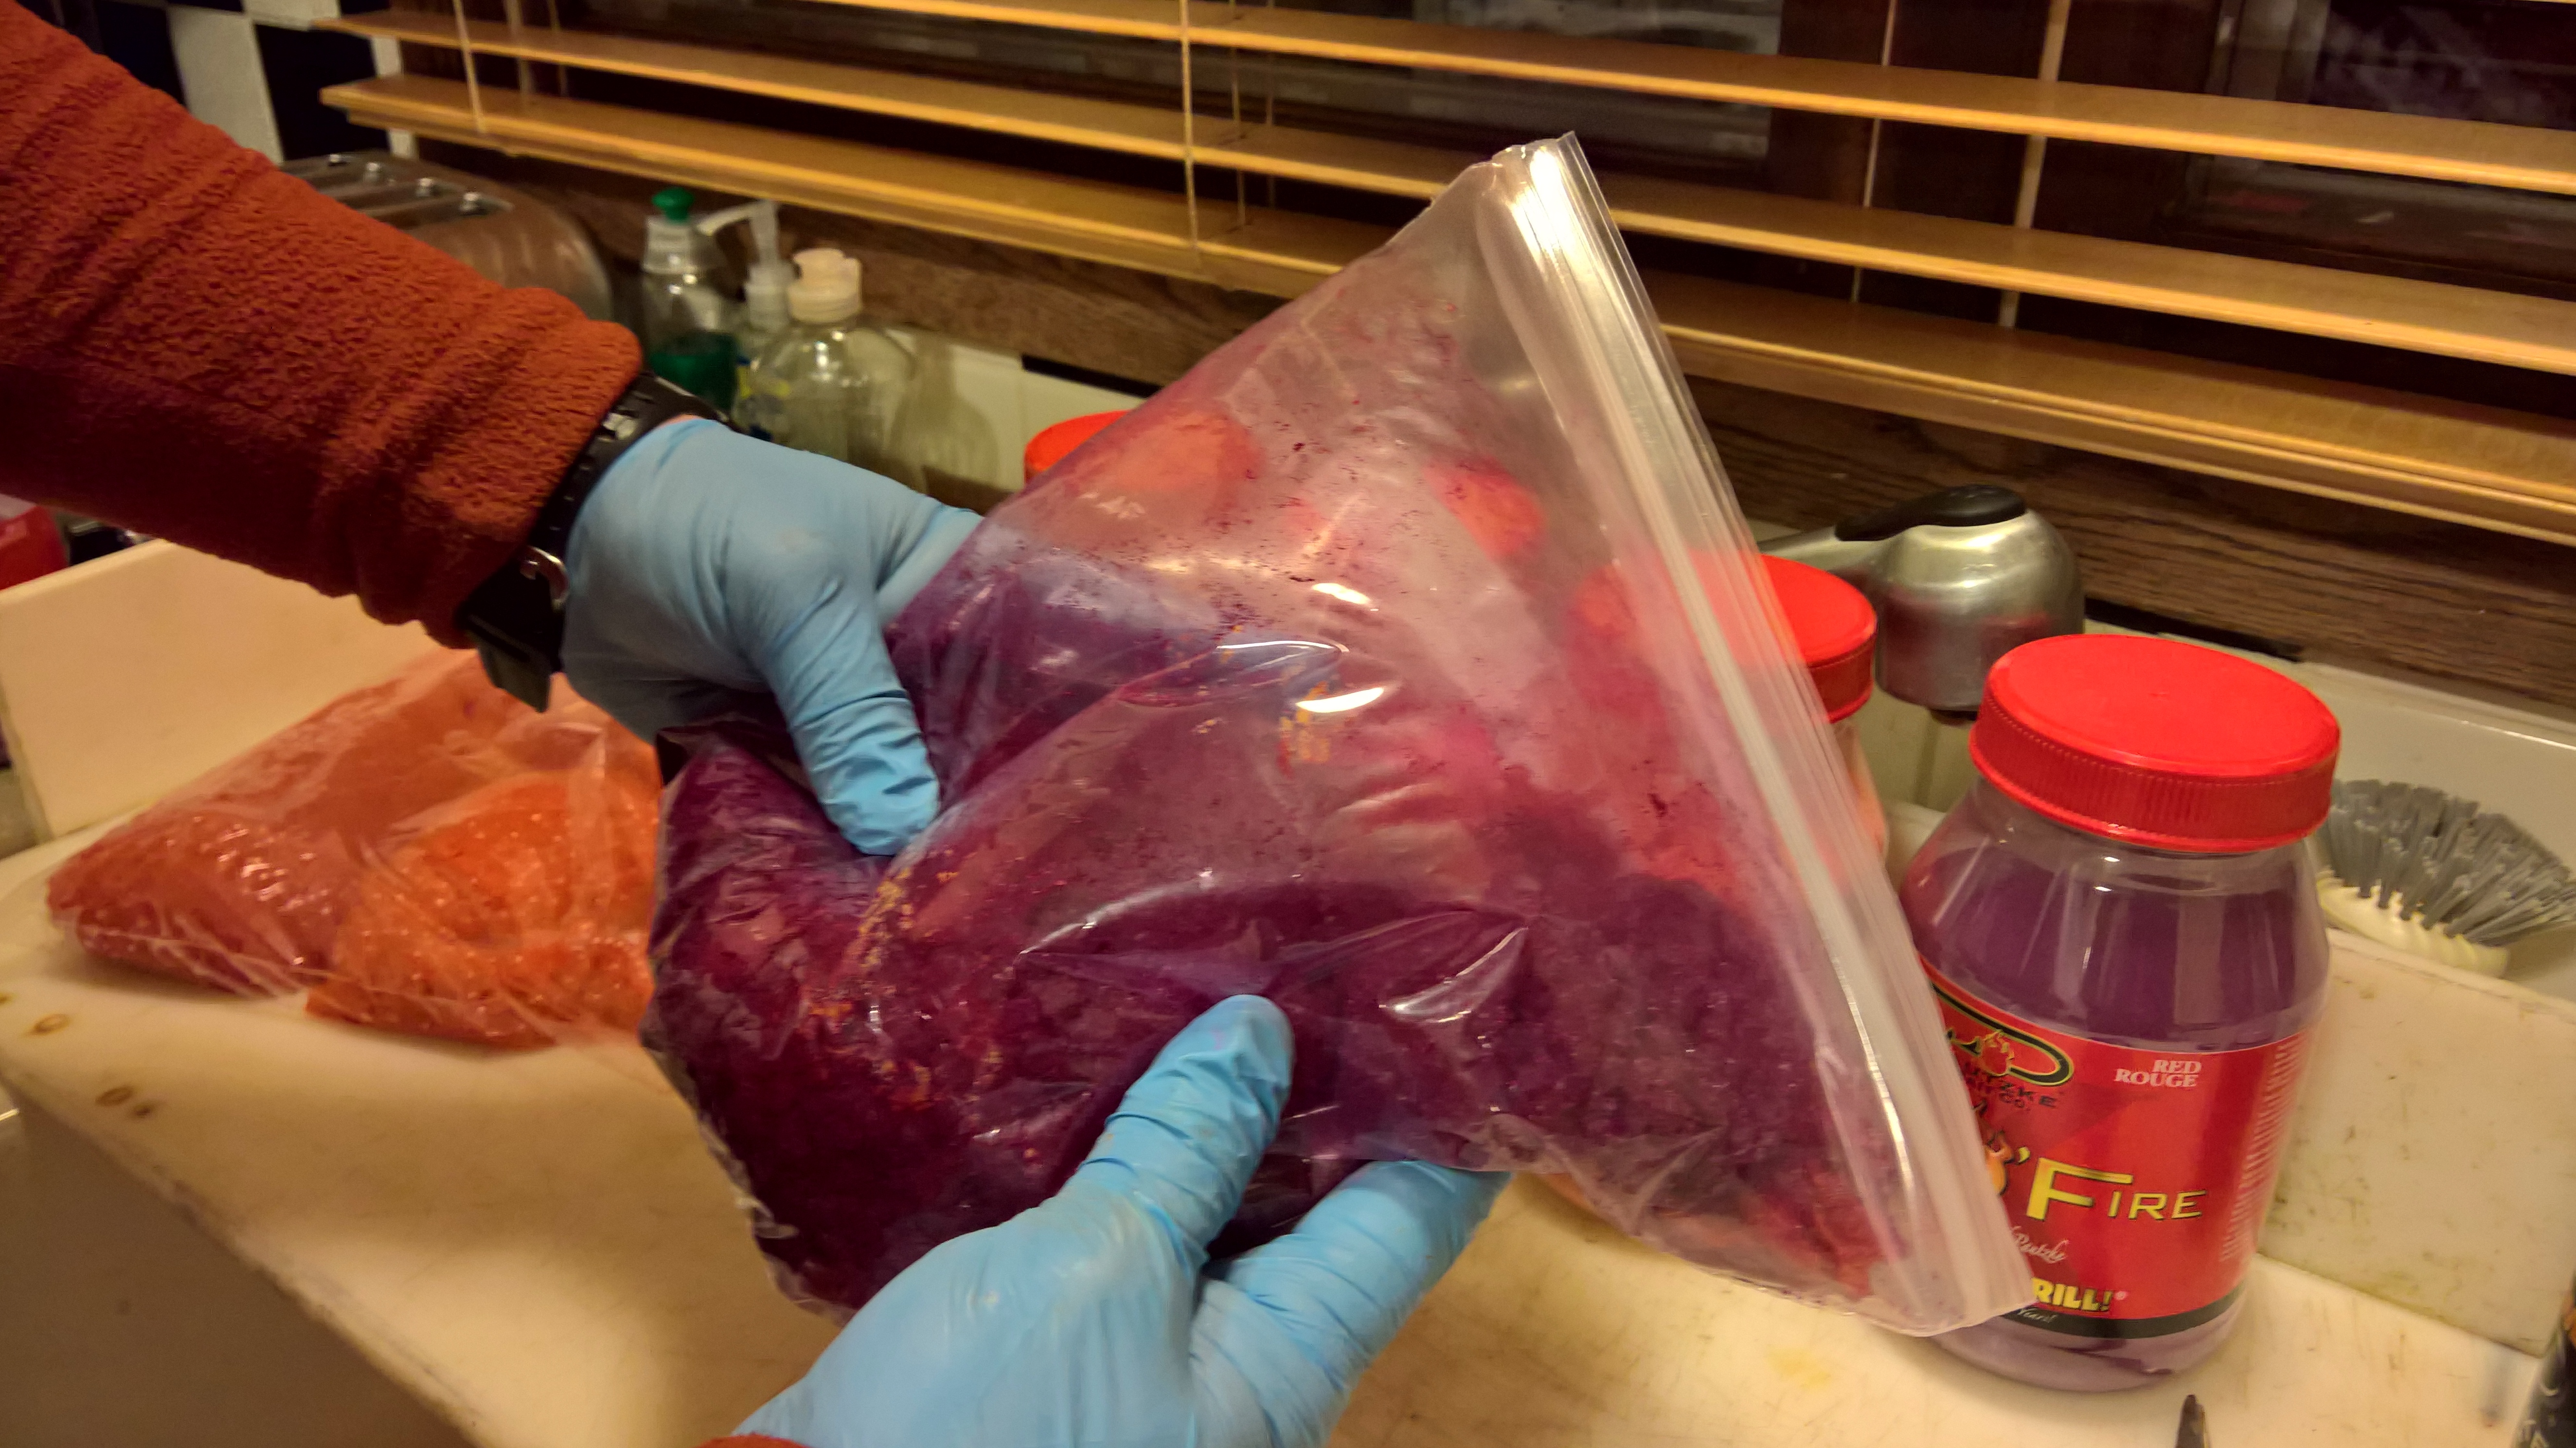
Step 3: Ziploc Migration
Take the now cut skeins and place into a Ziploc. Now it’s time to add your desired color of BorX O Fire (or mix colors). Pour enough cure in to cover the skein.
Step 4: Power It Up
Everyone has their idea of why they add scent. Adding Fire Power (pure krill powder) is something I’ve been doing because I’m a big believer in krill. A lot of anglers are out fishing daily. To me adding the krill to my egg cure could be the key factor that gets steelhead to bite our eggs instead of someone else’s. I’ve been catching fish on it constantly, which is why I keep doing it. For two skeins I’d probably put in about a tablespoon of krill. The more you put in the stronger the krill scent.
![WP_20151228_17_57_57_Rich_LI[1]](https://www.pautzke.com/wp-content/uploads/2016/01/WP_20151228_17_57_57_Rich_LI1.jpg)
Step 4: Tumble
Tumble the eggs every hour for roughly three hours. This ensures the juices that are coming out of the eggs are being mixing throughout the skein thus allowing the juices to mix in with the berries. The tumbling is also key to get the krill to mix in with all the eggs instead of just some of them.
Step 5: Keep Cool
Place into the fridge and let the cure work. I’ve used them within 12 hours, but typically I’ll leave them in the fridge for 24 hours.
Step 6: Fish or Freeze
At this point it’s time to either fish the eggs or transfer them on blue shop towels or good paper towels and freeze them. To freeze I’ll roll them up almost like a burrito and put them in the Ziploc. The shop towel or paper towel helps prevent against freezer burn.
Editor’s Note: Mike Ainesworth operates First Light Guide Service in Western Washington. For more info on his guided steelhead trips please visit http://www.firstlightguideservice.com.[/fusion_builder_column][/fusion_builder_row][/fusion_builder_container]