
Salmon
The Traveling Classroom: Learn To Cure The Ultimate Fall Salmon Egg

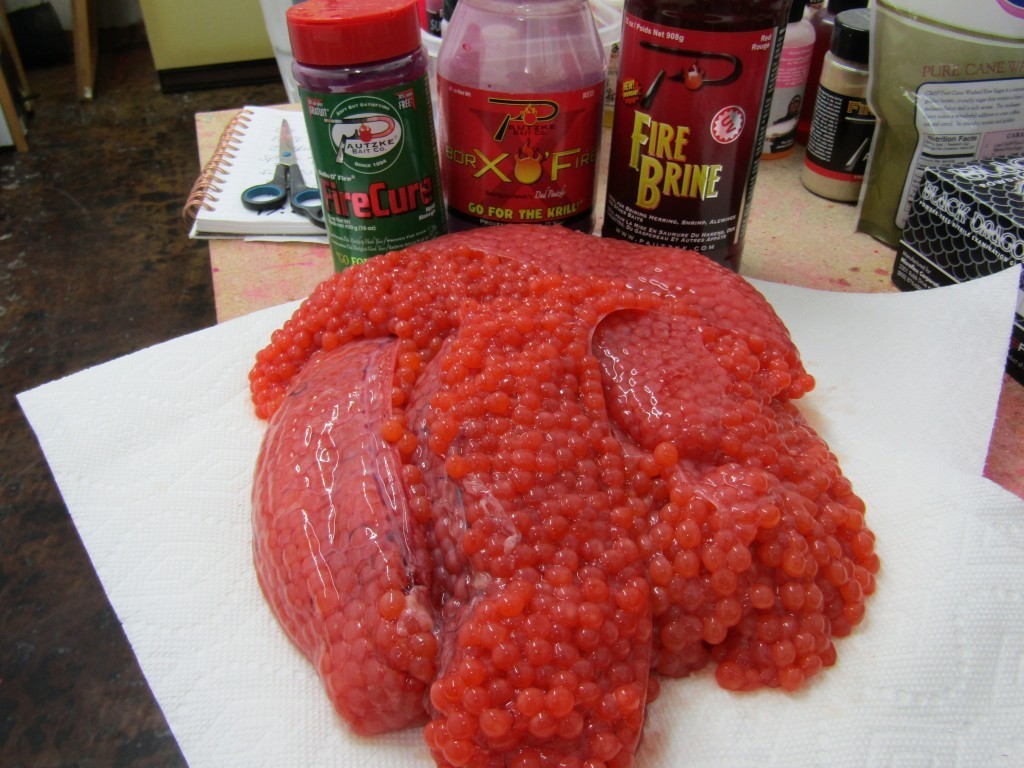
Fall is in the air and many of our rivers are stuffed with returning salmon. This is opportunity to catch and harvest adult Chinook, coho and chum, which affords the opportunity to also harvest eggs. One thing to keep in mind when curing eggs obtained from fall salmon is not all eggs are created equal. Fall salmon (in the rivers) mature at different rates. This also affects the condition of their eggs.
Some skeins are firm with a lot of membrane (or skin) holding the eggs together. Coho are a prime example of tighter eggs whereas chum and especially Chinook can be loose eggs. By loose, this means the membrane has begun to break down, the berries (individual eggs) can be large and there is not a lot of skin holding the eggs tight.
The goal is to toughen up the skin so it will hold the baits together. However, you also want to create an egg that puts out an egg scent (milks) downriver. This can be accomplished through a wet brine process.
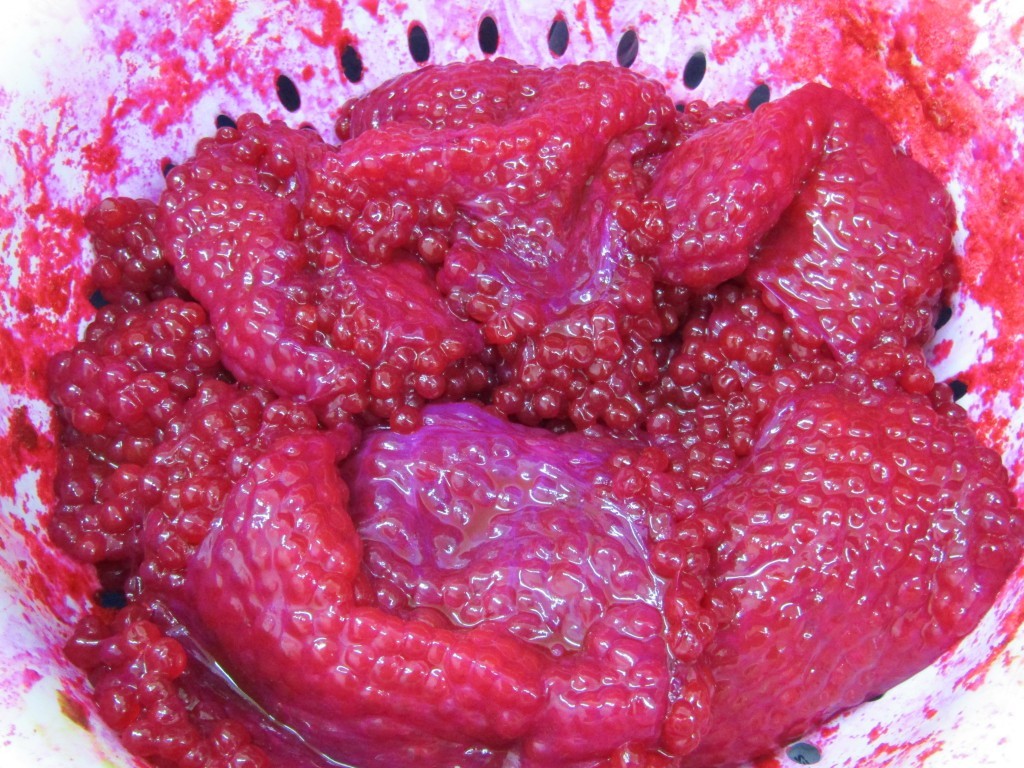
Cleaning the blood out of your eggs is beneficial. When the eggs are fresh, the blood moves easily through the veins and is easy to push out of the eggs.
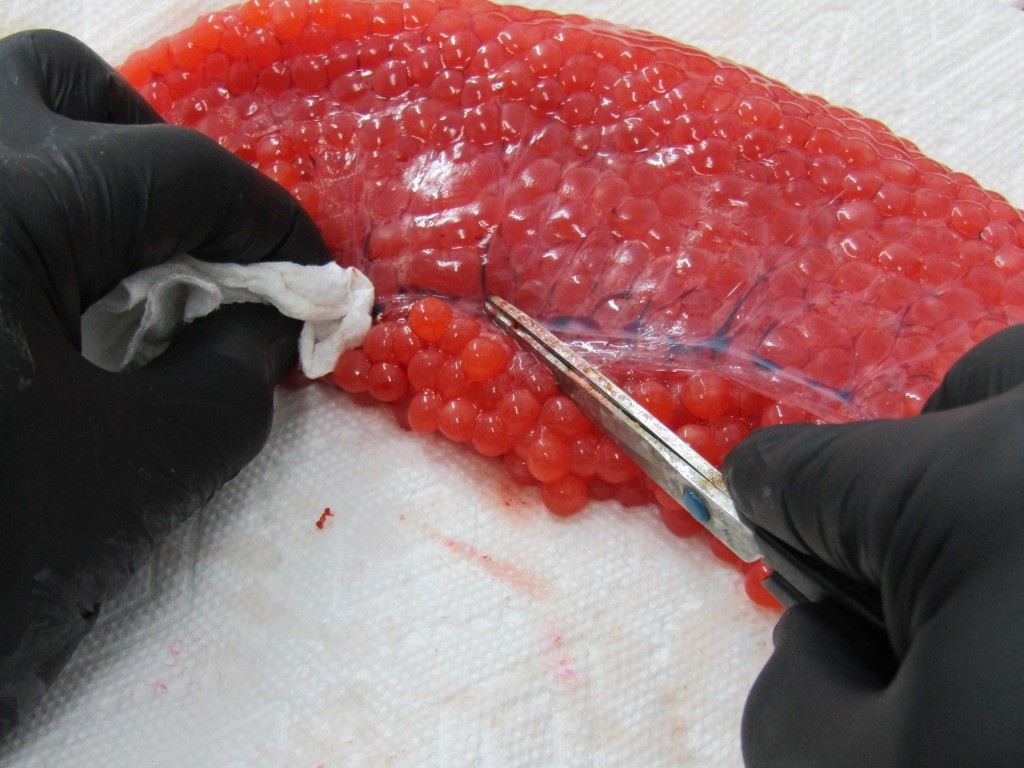
By using the flat edge of scissors move the blood along the veins to a small relief cut placed in the vein and simply draw the blood out with a paper towel. Once all the blood is out the eggs are ready for cure.
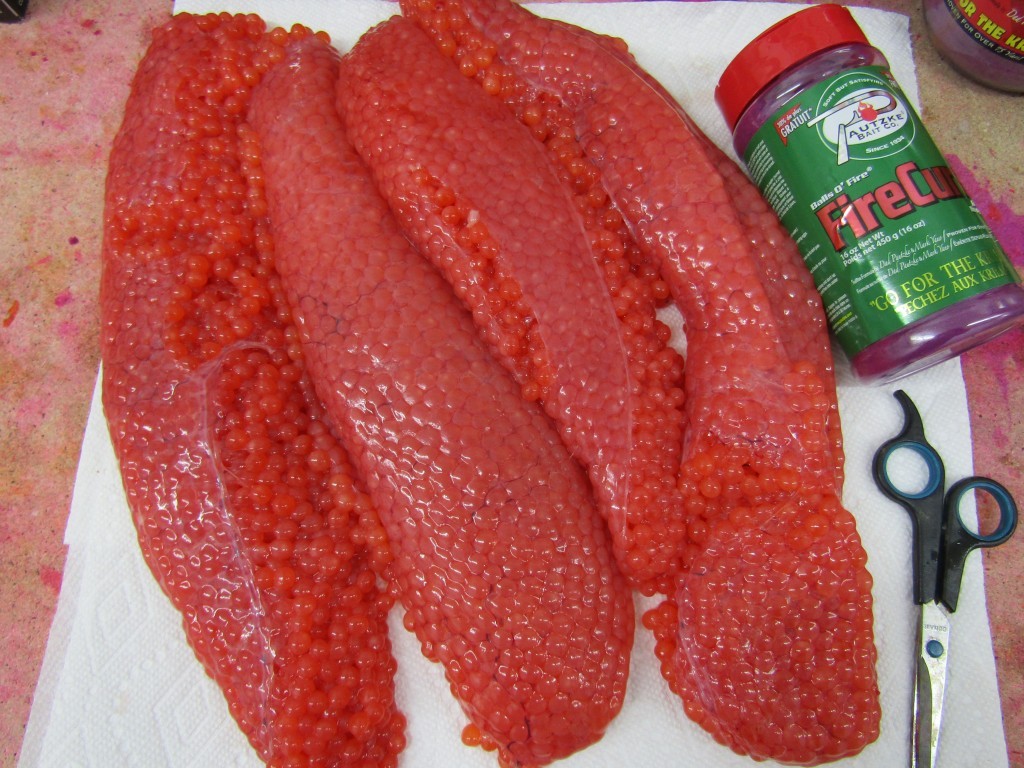
These are extremely large Chinook skeins. Start off by cutting them across the skein. Make each skein into three or four shorter segments.
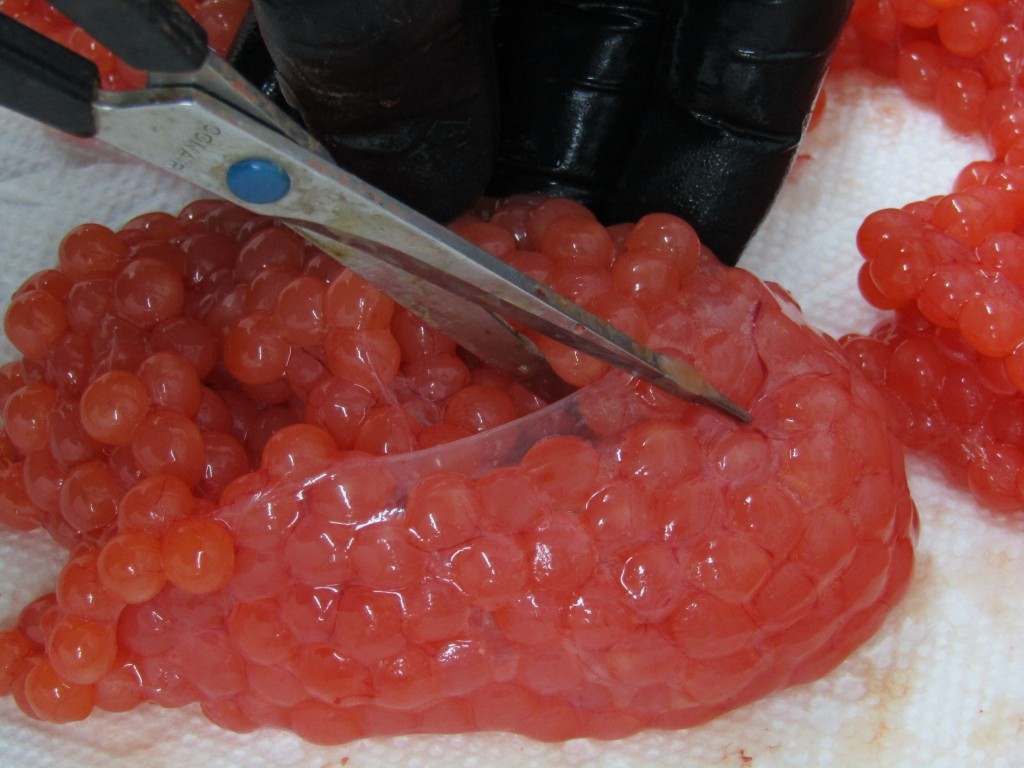
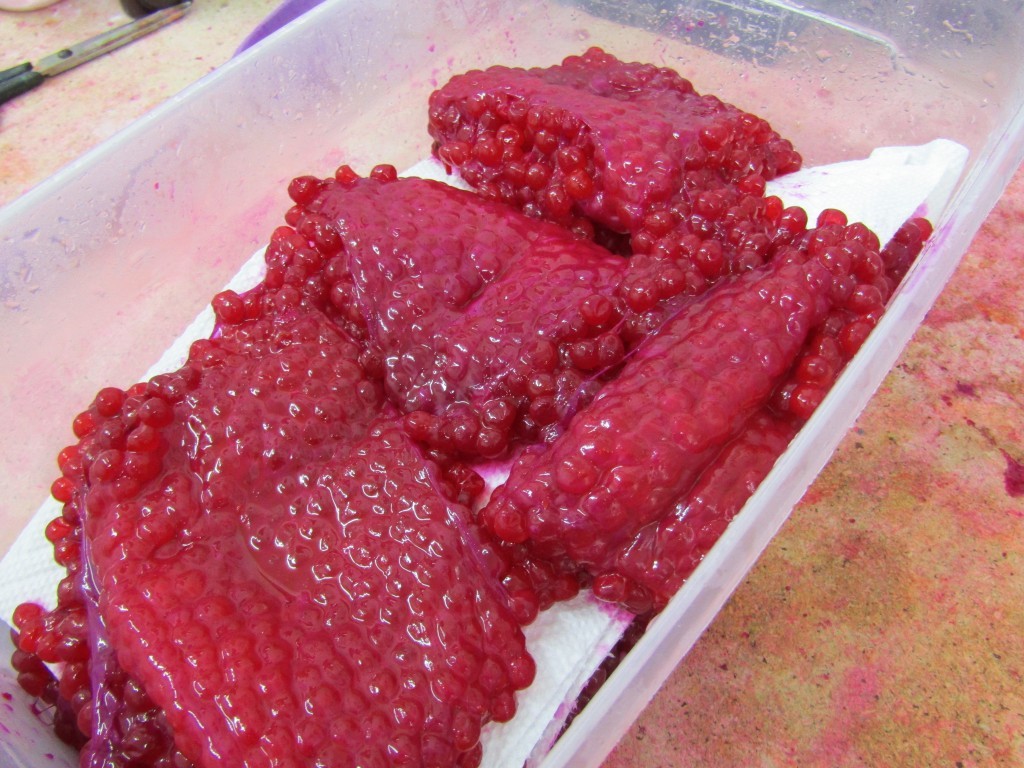
Next, place the eggs on paper towels egg side up. Cut some of the skin on each section to open up or (butterfly) each short skein. This allows the cure to be applied more evenly on the skein.
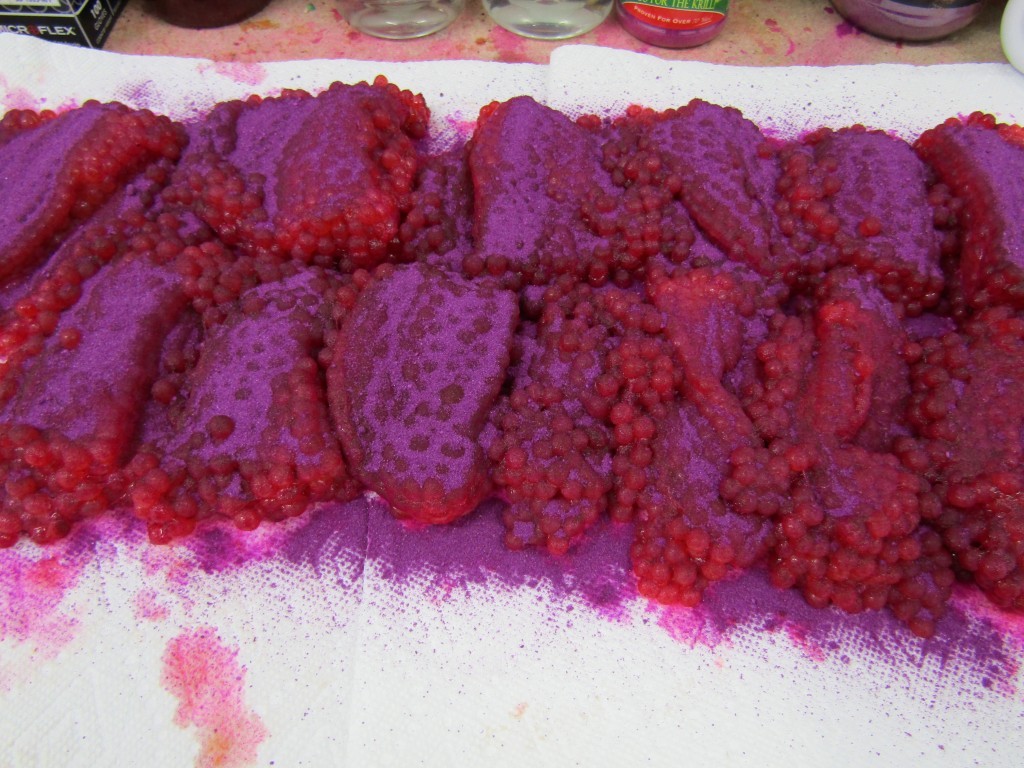
Turn all the sections over so the skin side is up. Sprinkle Red Fire Cure onto the skin side of the eggs first. I use Fire Cure as it’s a sulfite-based cure, which produces a great bait for salmon.

Then stack the eggs into a container skin side down, egg side up. Place one layer of eggs in the tub, then sprinkle Fire Cure on the egg side of the skein. Then stack the next layer and sprinkle on more cure. Do this until all the eggs in the container have Fire Cure on both sides.
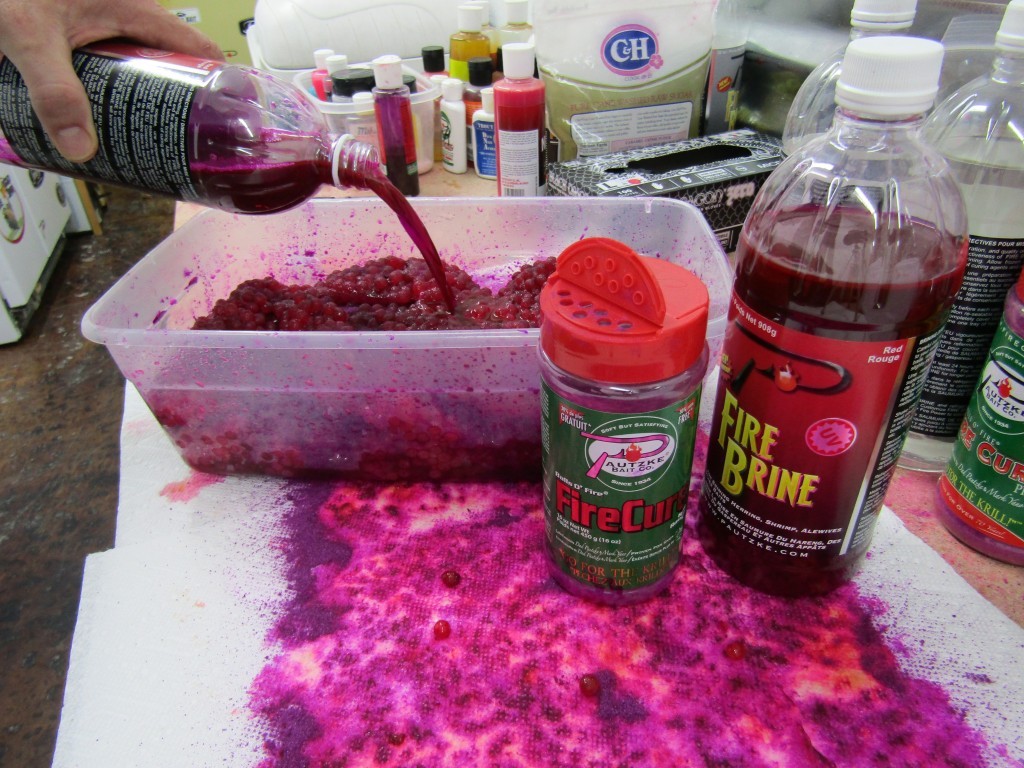
Next pour in the Red Fire Brine. Add enough to ensure all the eggs are covered in liquid. Depending on how many eggs you are curing this may take a half or whole bottle.
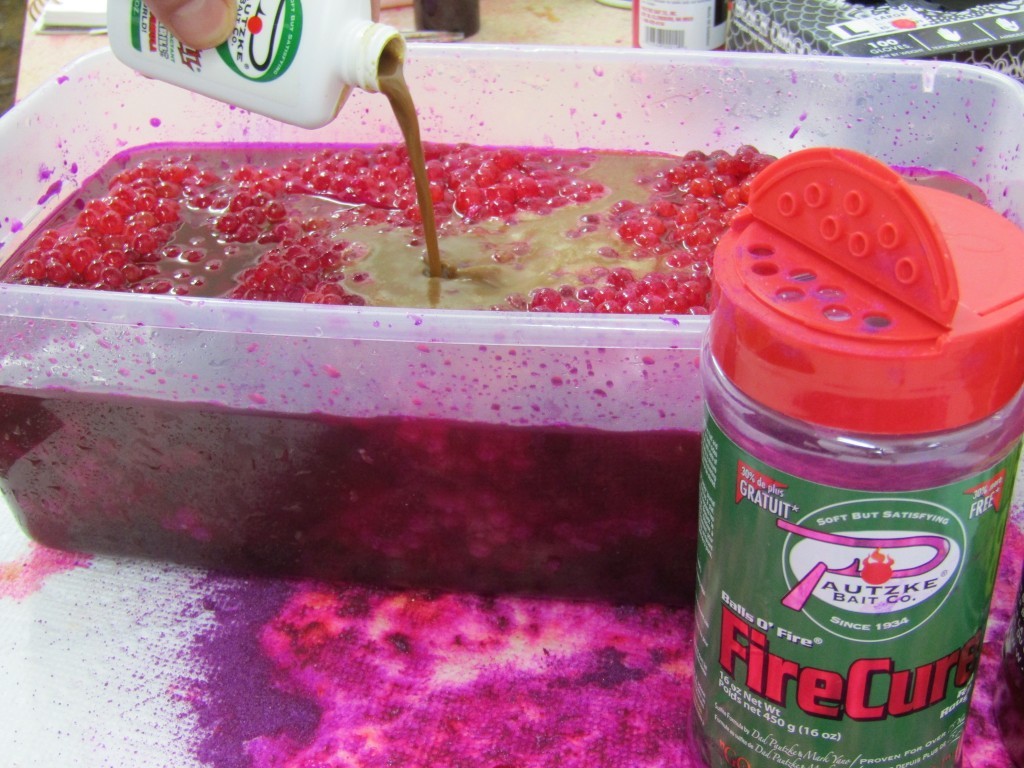
Then pour in one full bottle of Liquid Krill. Make sure you shake the bottle before you pour out the contents. Liquid Krill should be well mixed when added to the wet brine.
With a gloved hand or large plastic spoon carefully move the eggs around to mix the contents. Repeat this and move the eggs around a few times throughout the curing process to ensure that all eggs cure evenly and obtain great color.
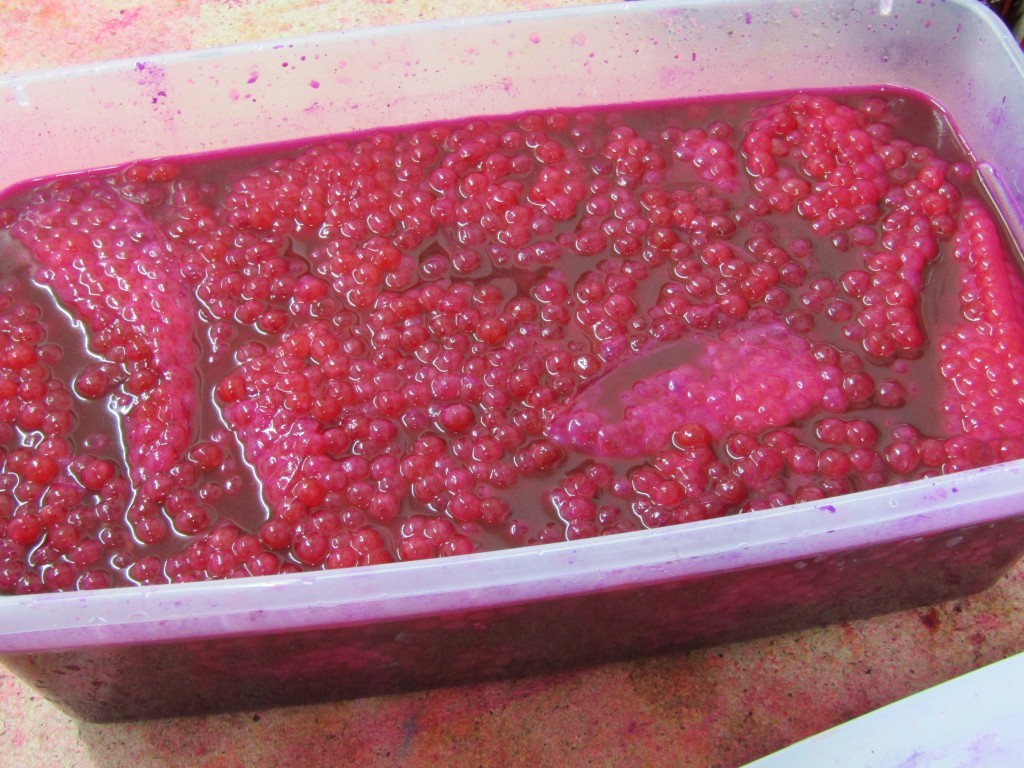
The overall curing time or soak time can vary. Depending on how many egg skeins you are curing, it may take two-to-four hours.
After an adequate soak time and the eggs are cured place them in a colander for 30-60 minutes to allow excess liquid to drain off.
Stack skein sections in a container. Place paper towels on the bottom and then place the eggs on the paper towels. Cover the eggs with paper towels and stack in the next layer. Layer the paper towels and eggs until all the eggs are in the container. Then place a lid on the container and set it the refrigerator.
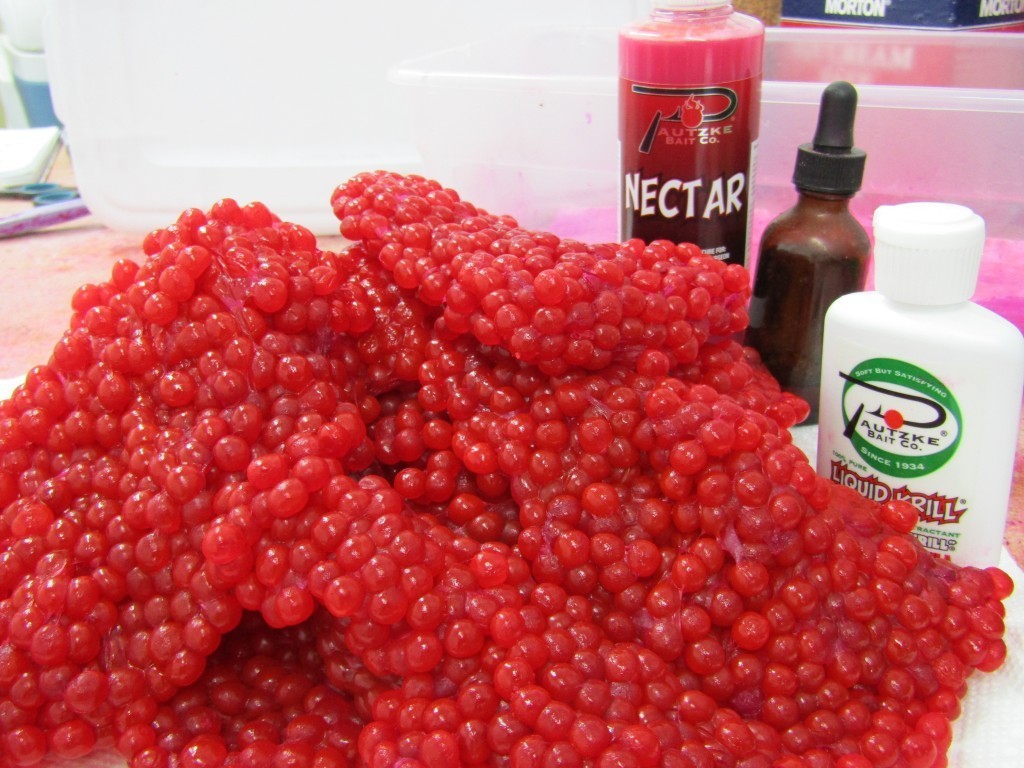
The eggs are ready to fish or freeze the next day. Before fishing these eggs I do an extra prep and add juice back to the eggs. This is the second step in the “one-two punch”.
To recap, we started with a sulfite-based cure. Then the Fire Brine cured and toughened the eggs. Meanwhile, I want to ensure they also give off plenty of scent or milk well.
To achieve this take one bottle of Red Pautzke Nectar and one bottle of Liquid Krill. Place the eggs into a container, egg side up. Instead of wasting some of your Nectar to make room for the krill pour enough of the Nectar onto the eggs so there’s room to add the bottle of Liquid Krill to the Nectar. Then mix the Liquid Krill into the Nectar bottle and add about 10-15 drops of anise.
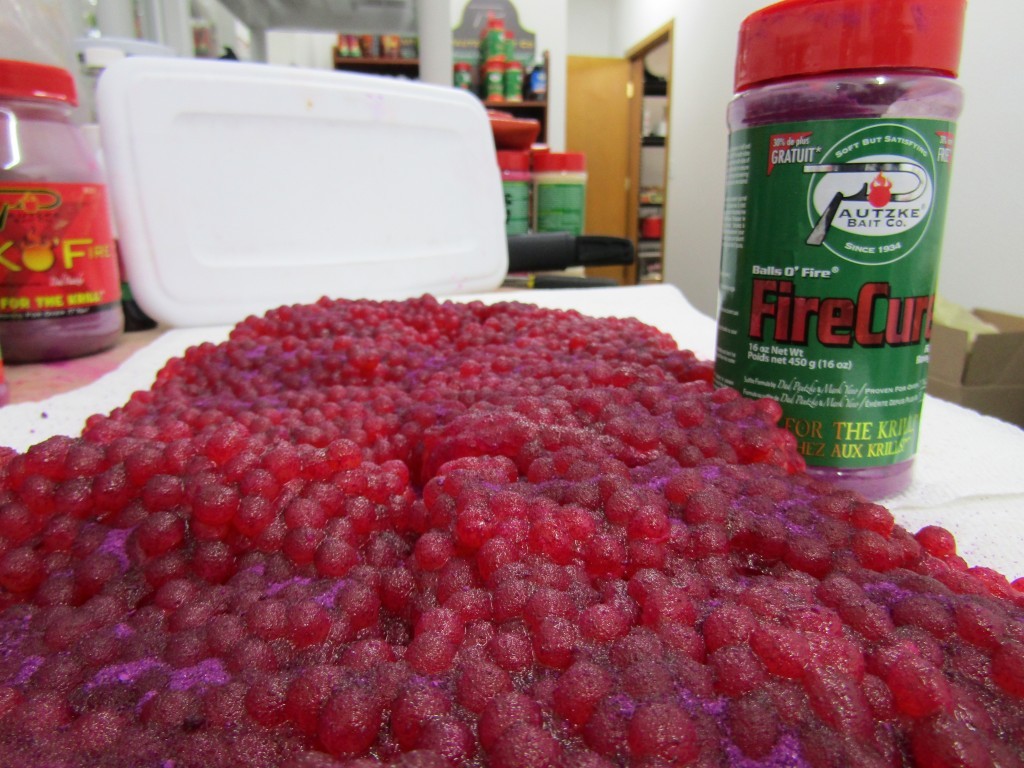
Once mixed, pour an adequate amount of this onto the eggs. This means you want enough of this solution to cover the eggs. Soaking these eggs in this solution overnight leave them full of juice and scent. They milk well and are durable for multiple casts. Taking lose mature eggs and creating a bait that performs well may be a little extra work, but the results are definitely worth it.
Editor’s Note: Big Duane Inglin is the host of Seattle’s Northwest Wild Country radio show. He can be heard from 6-8am on Saturday’s on KJR AM 950 or followed at https://www.facebook.com/duane.inglin.