
Salmon
Learn To To Throw The Kitchen Sink At Salmon

By: Big Dave Manners
It’s salmon season and while most guys are using just eggs or just a plug, I’m throwing the kitchen sink at them. I’m strong believer that fall salmon are big on big baits and I want to give them something that’s packed with their favorite things. Every salmon angler knows tuna blood is off the hook right now as is sand shrimp and it’s no secret they all eat eggs – so I give them all three – at once.
I like to call my bait, “The Kitchen Sink.” It’s not your traditional one colored egg cure and requires many ingredients, but good luck finding more productive bait.
This packaged bait can turn a bite on. Good, hot, fresh bait like this stimulates strikes from West Coast salmon and we prove that consistently while on the water daily. With big kings around now this is the bait I’m chucking.
Some people think I’m crazy for running all three baits together. But, I’m on the water daily, almost every day of the year. If it didn’t work I wouldn’t be doing it. I run all three baits because salmon love the tuna, the eggs and the shrimp. There are times where just the eggs are going to work fine, but with all three of them there’s excuse for the salmon then.
Let’s lay out the steps to creating this Kitchen Sink bait. It’s much easier than you’d expect.

The Kitchen Sink
Part 1: Sand Shrimp:
Purchase live sand shrimp. They don’t need to be brined/cured.
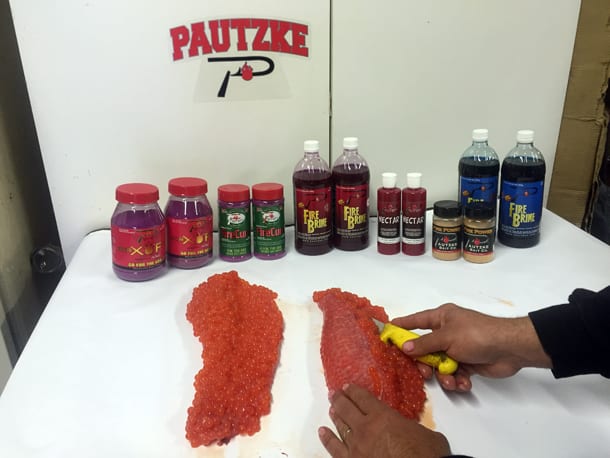
Part 2: Cured Eggs
Step 1:
Mix the following in a container:
Quarter bottle of Red Fire Brine
Quarter bottle of Red Nectar
Quarter jar of Fire Power
Quarter bottle of Red BorX O Fire
Quarter bottle of Red Fire Cure


Step: 2:
Place skeins into the mixed solution.

Step 3:
Let skeins soak for 24-48 hours.

Step 4:
Drain the liquid from the container. If your eggs get smaller and tough drain them off and add Red Nectar. It will plump them back off. Otherwise, they are ready to fish.

Part 2: Tuna Bellies
Brining tuna bellies is time consuming, but easy.
Step 1:
Place tuna bellies in container and cover them in rock salt.


Step 2:
Submerge tuna bellies in Blue or Green Fire Brine. Let sit for two days. They color is person preference. I like to have both on hand.


Step 3:
Drain brine from container.

Step 4:
Leave tuna bellies in rock salt for two to three days (don’t cover). The tuna bellies should never come out of the rock salt. As long as the container is in the fridge the tuna can stay in the rock salt for two weeks without spoiling.

Step 5:
Before fishing cut them in one-inch squares. They are now ready to fish.
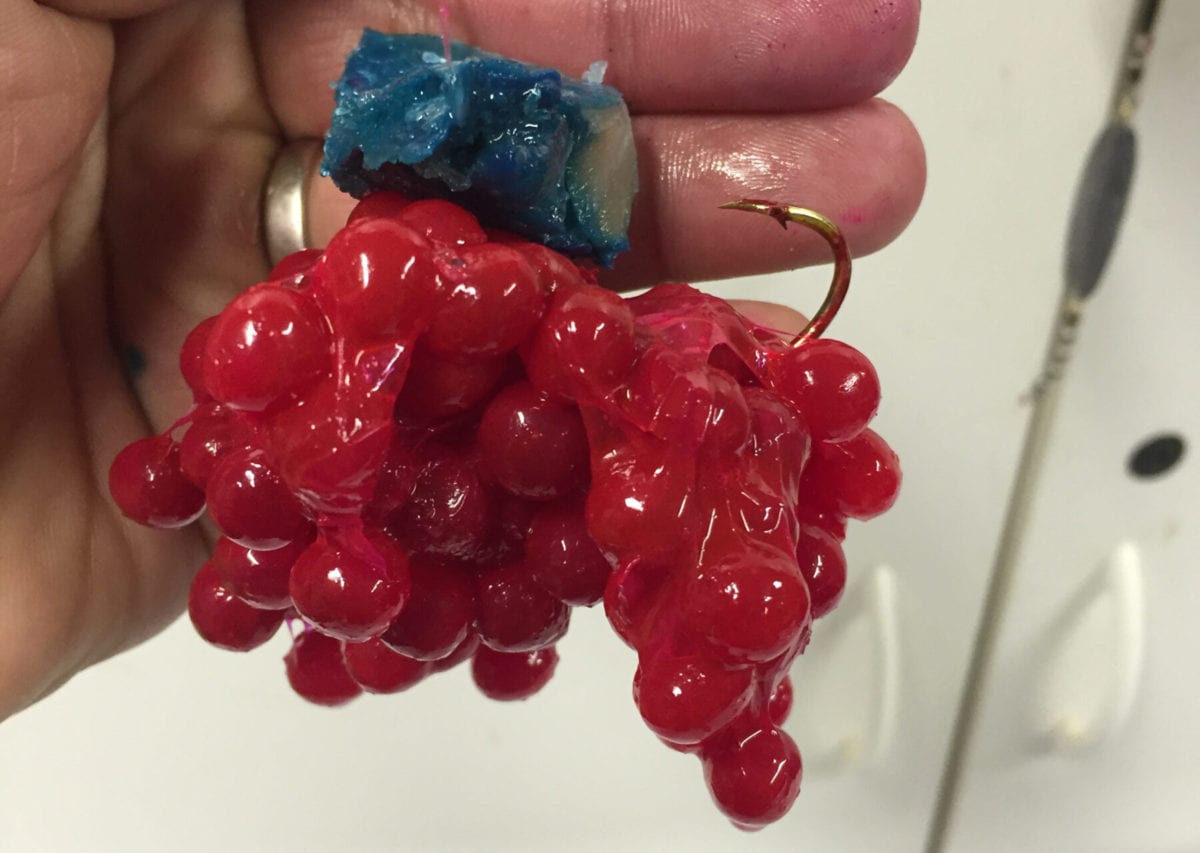
Assembly Instructions:
First put on your tuna, then eggs and then the sand shrimp.


Editor’s Note: Big Dave Manners is a well-known fishing guide in the Northwest. For more information on his guided salmon trips please visit www.bigdavesfishing.com or www.wilsonriverlodge.com