
Salmon
Learn to Cure the Perfect Coastal Salmon Egg
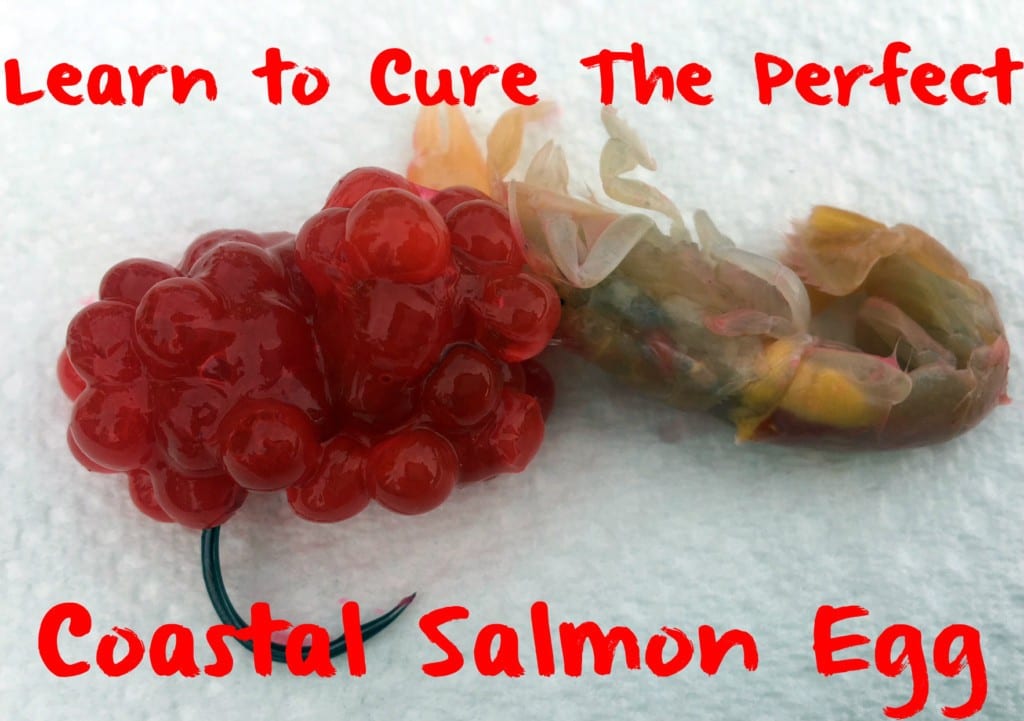
By: Kyle Buschelman
In the fall when coastal Chinook are available my success is a reflection of how good my bait is. Quality eggs and arming myself with multiple cures filled with different bite stimulants is the main ingredient to success. Using Fire Cure as the base I have three-to-four different cures in my boat each day.
The Fire Cure used right off the shelf is enough catch fish. However, I like to add things into my cure to capture a changing bite. To do so I add sugar and krill to compliment the sulfites that are already in Fire Cure. I then squirt in Fire Dye to maintain vivid color and add UV. This cure is easy to do and can be a game changer. It’s what I’m going to cover in this blog.
Preparing skeins has been covered extensively in previous blogs. However, I can’t stress enough how important it is that skeins are bled thoroughly. Having blood free skeins is critical. In addition, I tap dry the skeins with paper towel before adding the cure. I like a berry that doesn’t have a lot of foreign liquids in it. Using the paper towels give me a cleaner egg to start with.
Coastal Salmon Cure Essentials:
*Fire Cure (Red & Pink)
*Fire Power (krill powder)
*Sugar
*Fire Dye (For UV) Red And/Or Pink

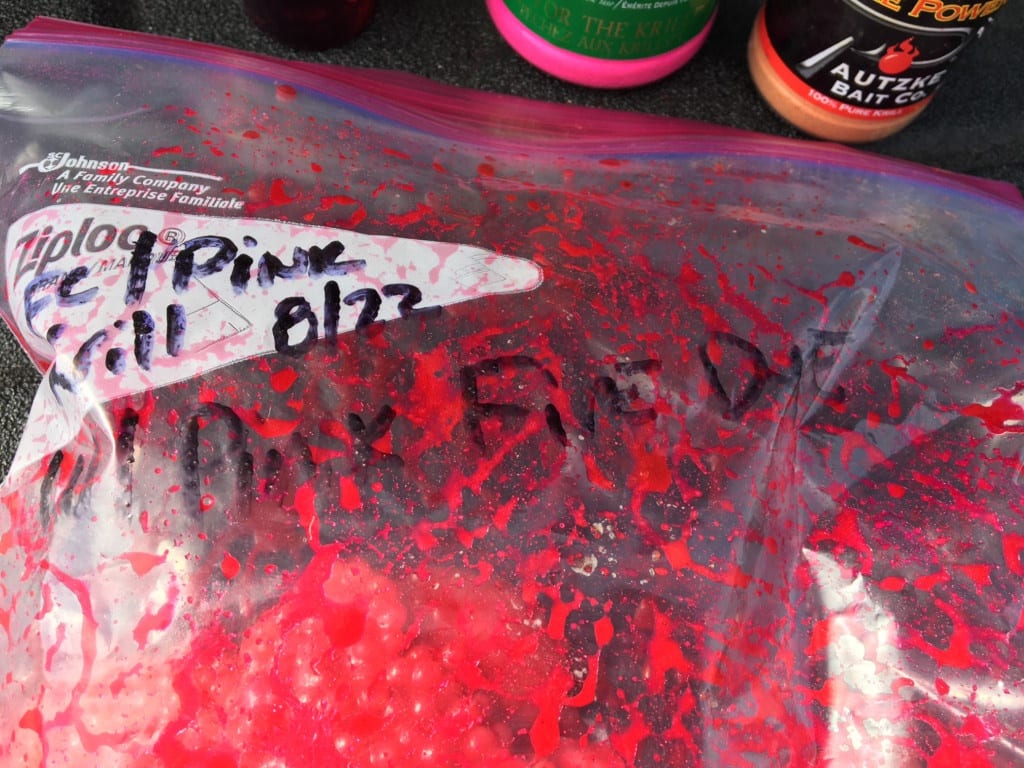
When targeting coastal salmon I use two shades of eggs. One of them is straight Red Fire Cure and the other is a 50-50 mix of Red and Pink Fire Cure. I’ll bring a bag of both of these colors to the river every day. Red is always good for salmon and I like pink, too. Mixing those gives me an in-between color that sometimes is what the salmon want.

Now it’s time to cure the eggs. Ill place three-to-four skeins in a Ziploc and then add Fire Cure to the bag. You don’t have to do it this way, but what I like to do is place one skein in the bag and then sprinkle Fire Cure on top. Then I’ll repeat this process until all the skeins are in the bag and covered in the cure. At this point I’ll add two tablespoons of sugar in the bag.
After the cure is on the eggs I’ll take a bottle of Fire Power, remove the lid and shake on enough of the krill powder to cover the top of the eggs. Now, in order to add the UV and make my eggs pop I’ll take either Red or Pink Fire Dye and squeeze it four or five times in the bag. With the dye if I’m doing only a red egg I’ll just use Red Fire Dye. However, if I’m mixing cure I’ll do two squirts of red and two squirts of pink.
When using Fire Dye with eggs I think it’s best to do it as the eggs are juicing out. Reason being, the Fire Dye will be absorbed back into the eggs during the curing process. What the Fire Dye does is keeps color in the egg longer than if you simply just used cure. It doesn’t wash out as fast.

We can now revert back to the traditional cure methods. This means after doing the above process seal the Ziploc and tumble in your hands every 15 minutes until you feel the cure and curing agents have penetrated the skein. Keep in mind juice in the bag is normal. Expect the juice to rise as high as the top of the skeins. When this happens remove air from bag. Then allow to cure for 24 hours at room temperature. At the end of the curing process the eggs will absorb most, if not all, the liquid.
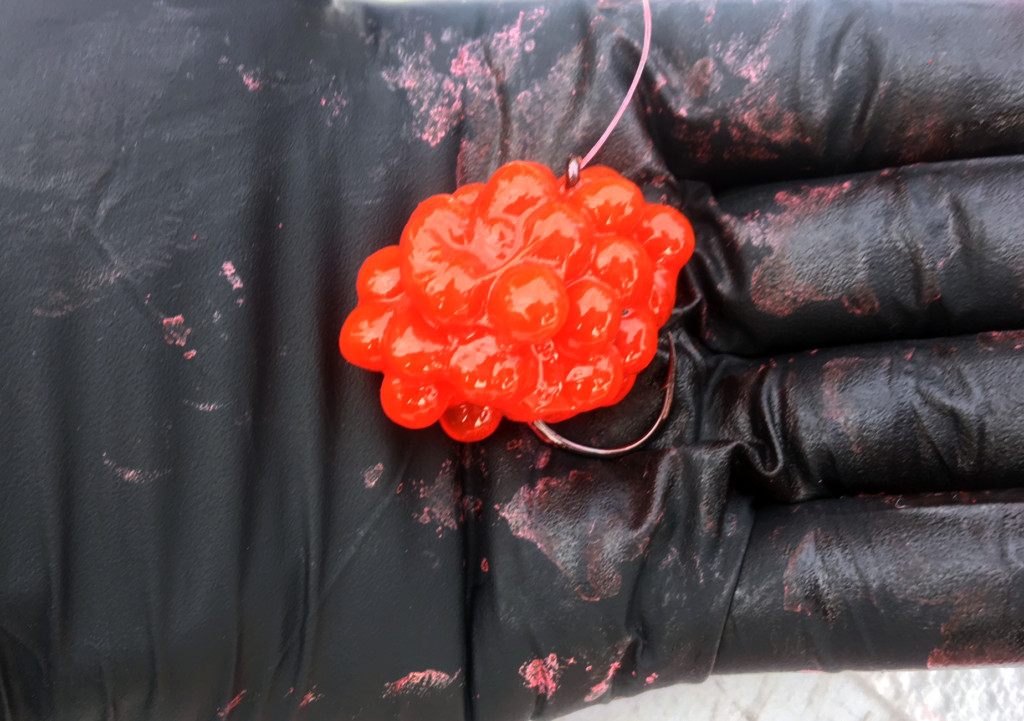
The finished product is a proven salmon catcher. Your bait now offers UV colors and has sulfites, sugar and krill. It’s ready to fish now. Meanwhile, from time-to-time I’ll add sand shrimp or tuna bellies to the roe. The bait is effective without this, but sometimes adding them triggers strikes.
Editor’s Note: Kyle Buschelman operates Willamette Valley Outfitters on the Oregon Coast. For more information on his guided salmon trips please visit www.willamettevalleyoutfitters.com.